
Mastering Matplotlib GridSpec: Advanced Layouts and Subplots
This note introduces layout concepts in Matplotlib.
Layouts in Matplotlib primarily involve GridSpec, layout functions, and related utilities.
In Matplotlib, besides directly positioning subplots via fig.add_axes (as mentioned in our previous note), we generally use grid-based positioning. This means specifying the number of equal-sized (width/height) grids via subplots with nrows/ncols, or defining grid specifications via gridspec.
Specifying equal-sized grids is straightforward. Let’s look at how to create more complex grids using GridSpec:
import matplotlib.pyplot as plt
from matplotlib.gridspec import GridSpec
def annotate_axes(fig):
for i, ax in enumerate(fig.axes):
ax.text(0.5, 0.5, "ax%d" % (i+1), va="center", ha="center")
ax.tick_params(labelbottom=False, labelleft=False)
fig = plt.figure(facecolor='0.8')
fig.suptitle("Controlling spacing around and between subplots")
gs1 = GridSpec(3, 3, left=0.3, right=0.48, wspace=0.05)
ax1 = fig.add_subplot(gs1[:-1, :])
ax2 = fig.add_subplot(gs1[-1, :-1])
ax3 = fig.add_subplot(gs1[-1, -1])
gs2 = GridSpec(3, 3, left=0.55, right=0.98, hspace=0.05)
print("gs2 is:", gs2[:, :-1])
ax4 = fig.add_subplot(gs2[:, :-1])
ax5 = fig.add_subplot(gs2[:-1, -1])
ax6 = fig.add_subplot(gs2[-1, -1])
annotate_axes(fig)
def show_grid(gs, pos):
# Get the grid positions
bottoms, tops, lefts, rights = gs.get_grid_positions(plt.gcf())
ax = plt.axes([0,0,1,1], facecolor=(1,1,1,0))
vlines = sorted([*lefts, *rights])
for x in vlines:
ax.axvline(x, ls='-', lw=1, ymin=min(bottoms), ymax=max(tops))
hlines = sorted([*bottoms, *tops])
for y in hlines:
ax.axhline(y, ls='-', lw=1, xmin=min(lefts), xmax=max(rights))
show_grid(gs1, [0.3, 0, 0.48, 1])
show_grid(gs2, [0.55,0, 0.98, 1])
plt.show()In this code, we first create two 3x3 grids using GridSpec, positioned side-by-side (left and right). We then create six subplots by passing the gridspec object during creation.
By binding subplots to different grid regions, we achieve an effect similar to merging cells in Excel, thereby creating irregular grid layouts.
)
This code demonstrates numerous plotting techniques worth studying in detail.
First, each GridSpec can specify its position and size within the Figure. For example, gs1 here spans from x=0.3 to x=0.48 (occupying the full height, as height was not specified).
Second, to illustrate how each grid (i.e., each small cell in the 3x3 structure) is assigned to specific axes (ax), we outline these cells.
From the image above, we can see that small grids 1–6 are assigned to ax1, as specified by the code gs[:-1,:]. gs[:-1,:] means assigning all columns up to (but not excluding) the last row to ax1, which corresponds to the first six grids. For details on reading Python slicing notation, refer to Lecture 9 of our course, which includes illustrations.
For ax2, the assignment is gs1[-1,:-1]. This means assigning all grids in the last row up to (but not including) the last column to ax2, corresponding to two small cells: cells 7 and 8.
Finally, ax3 is assigned the last cell, gs1[-1,-1].
For gs2, the logic is similar. ax4 receives gs2[:,:-1], meaning the first two columns of all rows are assigned to ax4. ax5 receives the first two rows of the last column. ax6 receives gs2[-1,-1].
Note an additional technique here: when drawing grid lines, we create a new ax specifically for this purpose. This is because the drawing must occur at the Figure level (to span across different axes), but the Figure object itself lacks a direct method for drawing lines (the available methods are introduced at the beginning of our course). Therefore, we must add an ax that is the same size as the Figure:
ax = plt.axes([0,0,1,1], facecolor=(1,1,1,0))We use this auxiliary axis to draw the grid lines.
The methods and principles introduced here are relatively low-level, representing advanced plotting techniques in Matplotlib. Mastering these techniques and principles signifies proficiency in Matplotlib.
Plotting is not merely about creating beautiful visualizations; it is about unlocking the full potential of data and revealing hidden insights. It serves as a bridge between digital language and storytelling, enabling individuals and organizations to make informed decisions and drive meaningful change.
This note is part of the Python Data Analysis and Visualization series. The entire series, like this note, explains the principles and techniques of Python plotting in depth, using detailed illustrations and runnable code. Topics include:
matplotlib
This section covers fundamental knowledge in plotting, including chart composition, layouts, colors, and coordinates.
plotly
Plotly is an advanced plotting tool capable of creating interactive plots and even animations! In this section, we will also introduce Dash. Once mastered, you can build web applications that render beautiful graphics and interact with users using only Dash.
seaborn
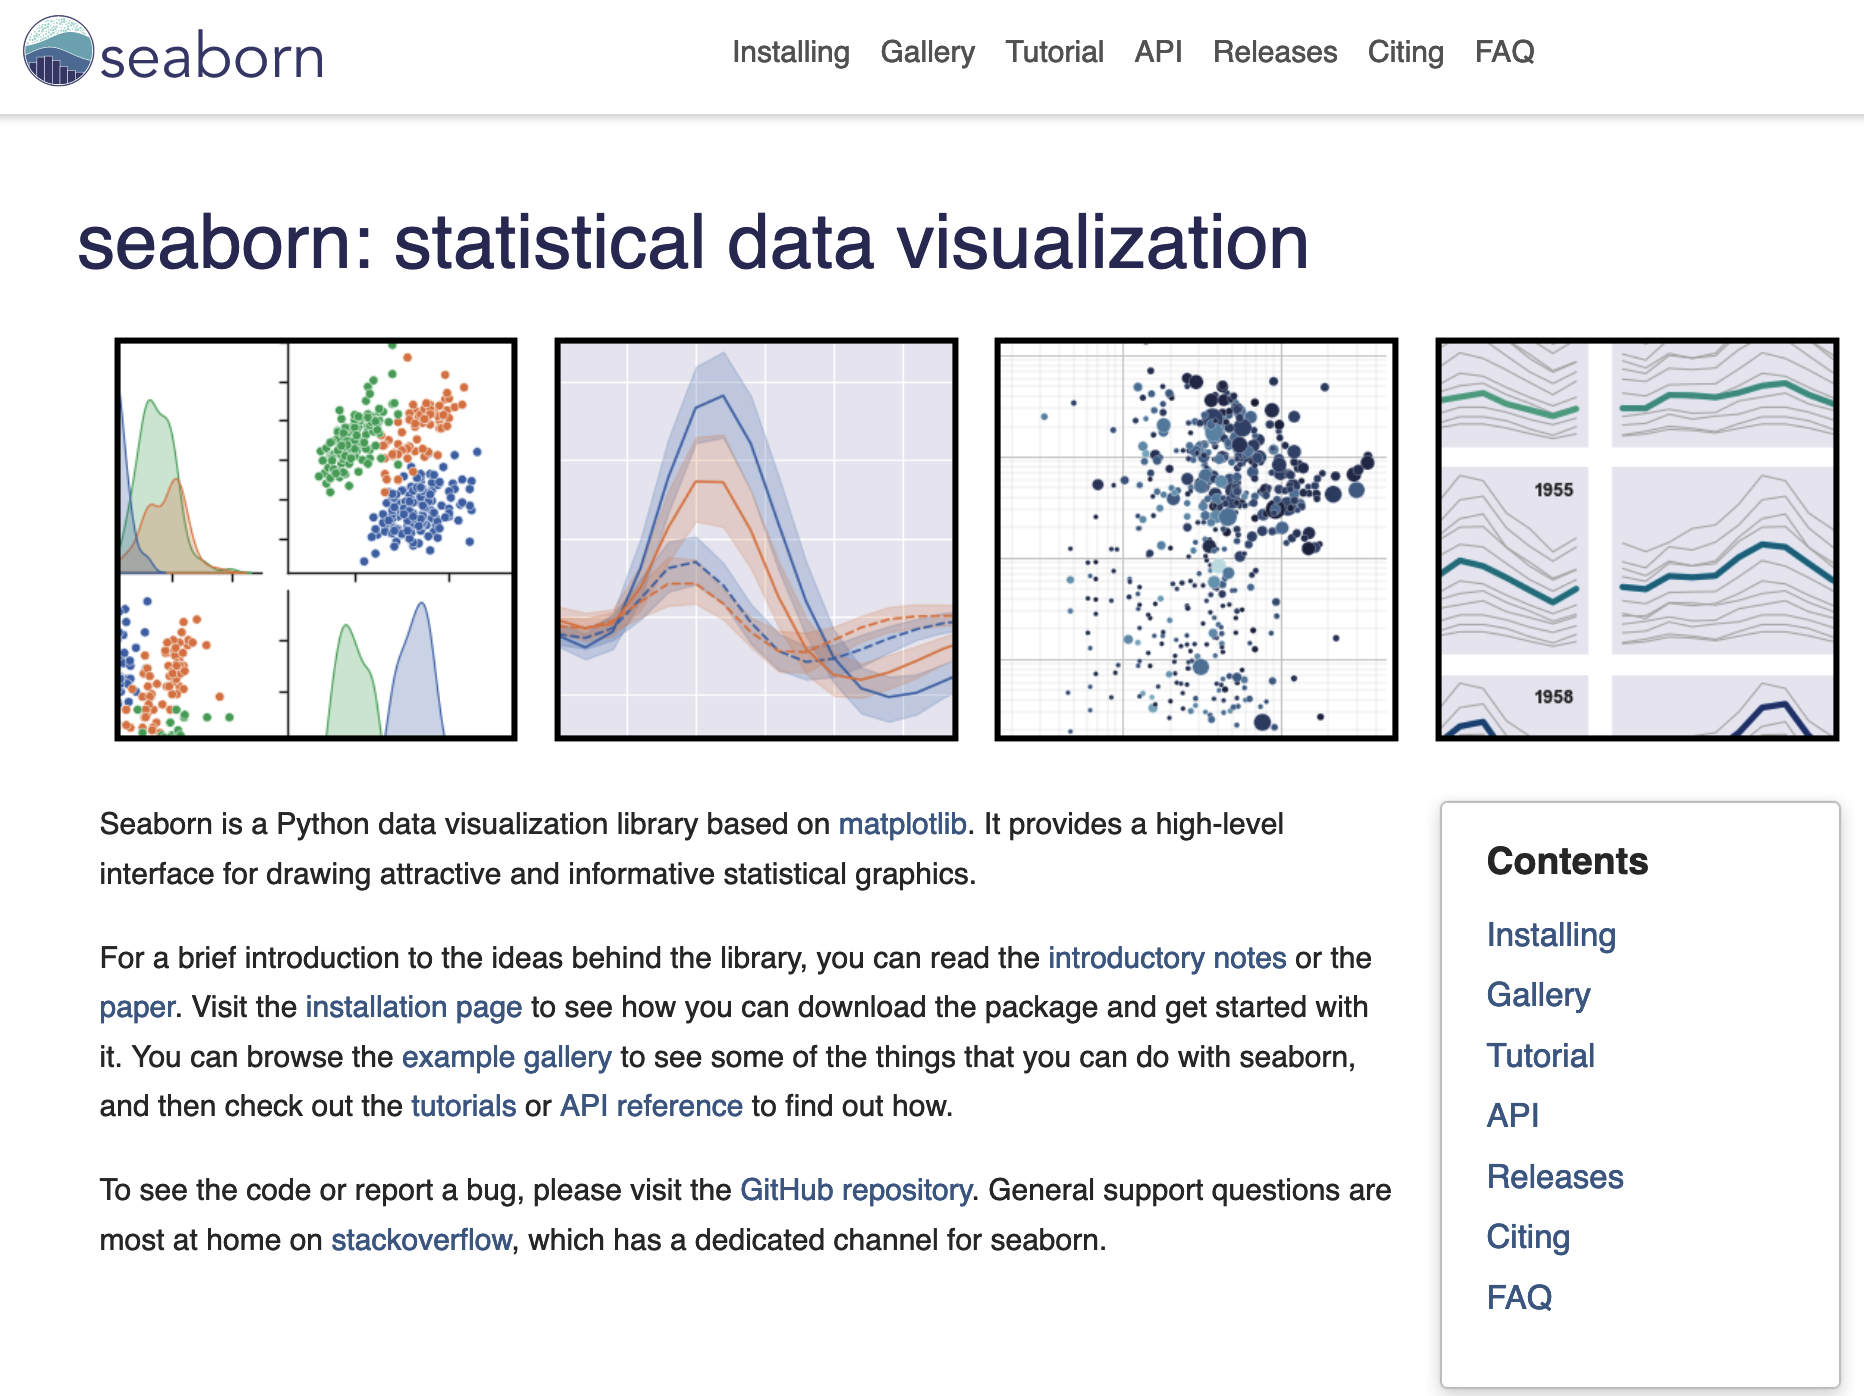
Seaborn is an advanced plotting library built on Matplotlib. It abstracts away most of the low-level plotting details in Matplotlib, allowing you to focus on exploring relationships and semantics in your data!
PyEcharts
This is an Apache top-level library contributed by Chinese developers. Similar to Plotly, it can generate interactive plots.